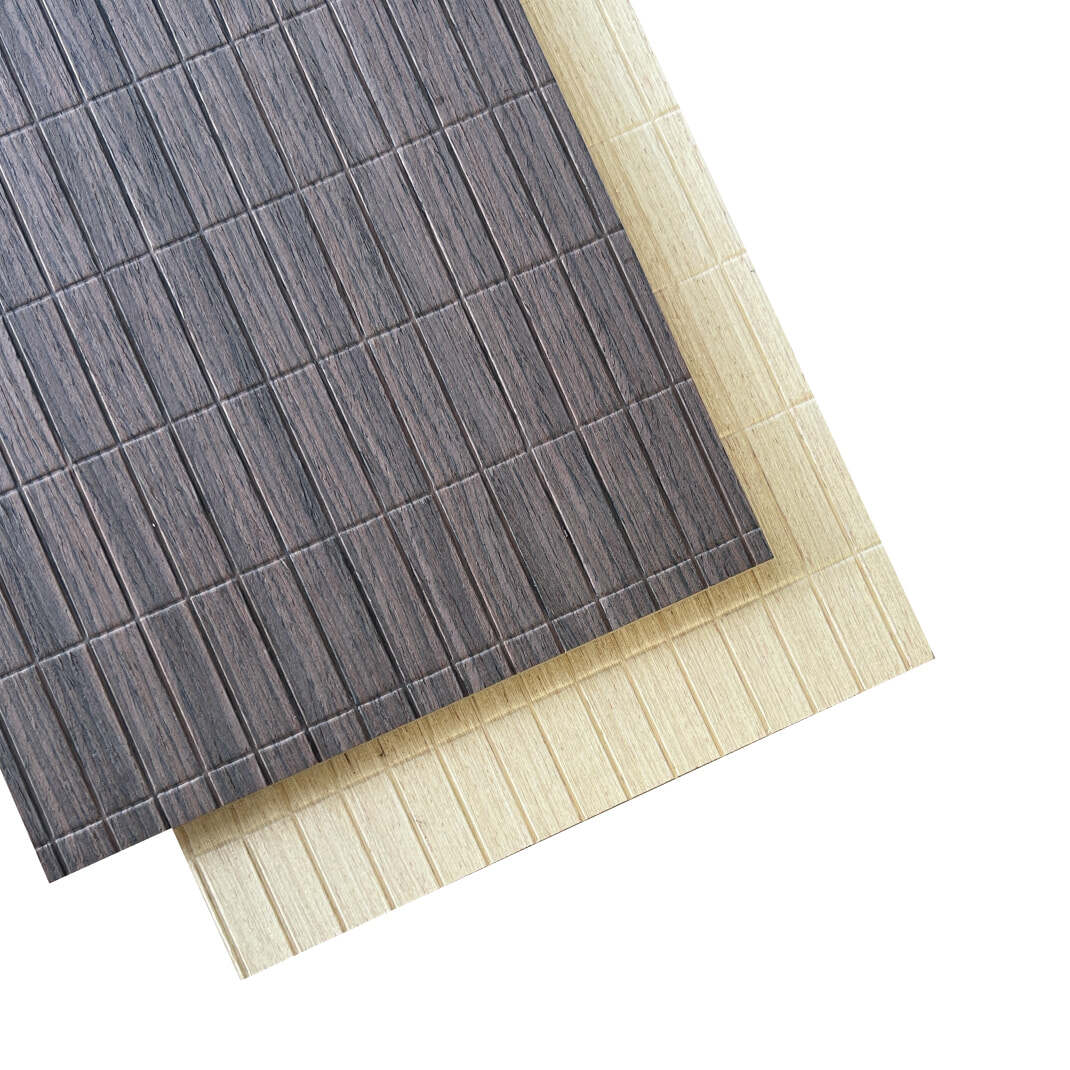
Creating your own acoustic treatment solution has become increasingly popular among homeowners, musicians, and content creators who want to improve their space's sound quality without breaking the bank. DIY acoustic panels offer an affordable and customizable way to reduce unwanted echoes, control noise levels, and enhance audio clarity in any room. Whether you're setting up a home studio, improving your home theater experience, or simply wanting to reduce noise in your living space, building your own acoustic panels can be both rewarding and highly effective.

Understanding Acoustic Panel Fundamentals
Sound Absorption Principles
Before diving into construction, it's essential to understand how acoustic panels work. Sound waves travel through air and bounce off hard surfaces, creating reflections that can cause echoes, reverberation, and overall poor audio quality. Acoustic panels absorb these sound waves rather than reflecting them, converting the sound energy into small amounts of heat through friction within the panel's porous materials. This absorption process significantly reduces the amount of reflected sound in a room, resulting in clearer audio and more controlled acoustics.
The effectiveness of DIY acoustic panels depends largely on their thickness, density, and the materials used in construction. Thicker panels generally provide better low-frequency absorption, while the material's porosity affects how well it handles mid and high frequencies. Understanding these principles will help you make informed decisions about materials and design specifications for your specific acoustic needs.
Types of Acoustic Treatment
There are several types of acoustic treatment, each serving different purposes in sound control. Absorptive panels are the most common type for DIY projects, designed to soak up sound energy across various frequency ranges. Diffusive panels scatter sound waves in multiple directions rather than absorbing them, helping to maintain some liveliness in the room while reducing problematic reflections. Bass traps are specialized absorbers designed to handle low-frequency issues, typically placed in room corners where bass frequencies tend to accumulate.
For most DIY projects, absorptive panels provide the best balance of effectiveness and ease of construction. These panels can be customized in size, thickness, and appearance to match your room's aesthetic while providing significant acoustic improvement. The key is determining the right combination of panel types and placement to achieve your desired acoustic goals.
Essential Materials and Tools
Core Materials Selection
The heart of any effective acoustic panel is its absorptive core material. Rockwool and fiberglass insulation are the most popular choices due to their excellent acoustic properties and availability. Rockwool, made from volcanic rock fibers, offers superior fire resistance and consistent density, making it ideal for acoustic applications. Fiberglass insulation provides similar acoustic performance at a lower cost but requires more careful handling due to its irritating fibers.
When selecting core materials, look for products with a density between 3-6 pounds per cubic foot for optimal acoustic performance. Avoid materials that are too dense, as they may reflect rather than absorb sound waves. The thickness of your core material will determine the panel's low-frequency absorption capabilities, with 2-4 inch thickness being suitable for most applications.
Frame Construction Materials
Building sturdy frames for your DIY acoustic panels requires selecting appropriate wood materials and fasteners. Pine or poplar wood strips work well for frame construction, typically using 1x3 or 1x4 inch boards depending on your desired panel thickness. These woods are readily available, easy to work with, and provide adequate structural support for most panel sizes. Avoid using very dense hardwoods, as they can add unnecessary weight and cost to your project.
For fasteners, wood screws or corner brackets provide secure joints that can withstand the weight of the acoustic materials and fabric covering. Pre-drilling screw holes prevents wood splitting and ensures clean, professional-looking joints. Consider using wood glue in addition to mechanical fasteners for extra strength, especially for larger panels that may experience more stress during handling and installation.
Step-by-Step Construction Process
Frame Assembly Techniques
Begin your DIY acoustic panels project by cutting your frame materials to the desired dimensions. Standard panel sizes range from 24x24 inches for smaller spaces to 24x48 inches for larger installations. Measure twice and cut once to ensure accuracy, as mistakes in frame dimensions will affect the final panel's appearance and fit. Sand all cut edges smooth to prevent splinters and ensure clean joints during assembly.
Assemble the frame using your chosen fastening method, ensuring all corners are square and joints are tight. A simple butt joint secured with screws works well for most applications, though more advanced woodworkers might prefer using dados or other joinery techniques for added strength. Check the frame's dimensions and squareness before proceeding to the next step, as corrections become more difficult once the acoustic material is installed.
Installing Acoustic Fill Material
Cut your chosen acoustic material to fit snugly within the frame, allowing for a slight compression fit that prevents gaps around the edges. Use a sharp utility knife or electric knife for clean cuts, and always wear appropriate protective equipment including gloves, long sleeves, and a dust mask when handling fiberglass or rockwool materials. The material should fill the frame completely without being overly compressed, which could reduce its acoustic effectiveness.
Some builders prefer to secure the acoustic material with a light application of spray adhesive or small staples around the perimeter, though this isn't strictly necessary if the material fits snugly. Avoid using too much adhesive, as it can create hard spots that might rattle or reduce the material's acoustic properties. The goal is to keep the material in place during the covering process while maintaining its sound-absorbing characteristics.
Fabric Selection and Installation
Choosing Acoustically Transparent Fabrics
The fabric covering your DIY acoustic panels must be acoustically transparent to allow sound waves to reach the absorptive core material. Avoid heavy, dense fabrics like canvas or thick cotton that can reflect sound waves rather than allowing them to pass through. Instead, look for lightweight, breathable materials such as burlap, acoustic fabric specifically designed for this purpose, or even certain types of speaker cloth.
Test fabric transparency by holding it up to your mouth and breathing through it easily. If air passes through readily, sound waves likely will too. Many fabric stores carry suitable materials, though specialized acoustic supply companies offer fabrics specifically engineered for optimal sound transmission. Consider the aesthetic appeal as well, since the fabric will determine your panels' final appearance in the room.
Professional Fabric Installation
Installing fabric on your acoustic panels requires careful attention to achieve a smooth, professional appearance. Begin by cutting the fabric with about 4-6 inches of excess material on all sides, allowing enough material to wrap around to the back of the frame. Lay the fabric face-down on a clean work surface, then position the panel face-down on top of the fabric, centering it carefully.
Start stapling the fabric to the back of the frame, beginning with one side and pulling the fabric taut but not overly tight. Work your way around the frame, alternating sides to maintain even tension. Pay special attention to corners, folding them neatly to avoid bulk that might prevent the panel from lying flat against the wall. Trim excess fabric after stapling, leaving about an inch to ensure the staples don't pull out over time.
Mounting and Installation Strategies
Wall Mounting Methods
Proper mounting is crucial for both the effectiveness and safety of your DIY acoustic panels. The mounting method you choose depends on your wall type, panel weight, and whether you want permanent or temporary installation. For drywall installation, use appropriate wall anchors or locate wall studs for secure mounting points. French cleat systems work exceptionally well for acoustic panels, providing strong support while allowing easy removal for relocation or maintenance.
Consider the panel's position relative to sound sources and reflection points in the room. Primary reflection points, where sound from speakers bounces off walls before reaching your listening position, are prime locations for acoustic treatment. Mark these positions carefully and ensure your mounting hardware can support the panel's weight over time without sagging or falling.
Spacing and Arrangement Considerations
The spacing between DIY acoustic panels affects both their acoustic performance and visual impact. Panels work most effectively when covering 15-25% of wall surface area, though this can vary based on room size, intended use, and existing furnishings that provide natural sound absorption. Avoid clustering all panels in one area; instead, distribute them strategically around the room for balanced acoustic treatment.
Leave small air gaps between the panels and the wall surface when possible, as this can improve low-frequency absorption. Even a half-inch air gap can enhance the panels' effectiveness, particularly for bass frequencies. Plan your layout on paper before installation, considering factors like furniture placement, room traffic patterns, and aesthetic balance alongside acoustic requirements.
Advanced Tips and Customization
Enhancing Acoustic Performance
Several advanced techniques can improve your DIY acoustic panels' performance beyond basic construction. Adding a perforated wood or metal face to your panels creates a more sophisticated appearance while potentially improving sound scattering characteristics. The perforation pattern and hole size affect both acoustic properties and visual appeal, allowing for creative customization options.
Varying panel thickness within a room can provide broader frequency coverage, with thicker panels handling lower frequencies more effectively. Consider building some 4-inch thick panels for bass absorption and thinner 2-inch panels for mid and high-frequency control. This approach optimizes your acoustic treatment budget while addressing the full frequency spectrum that affects your room's sound quality.
Aesthetic Integration Options
Modern DIY acoustic panels can seamlessly integrate with your room's décor through thoughtful design choices. Consider using fabric that complements your existing color scheme, or create geometric patterns using panels of different colors or textures. Some builders incorporate LED backlighting behind translucent fabric panels, creating attractive accent lighting while maintaining acoustic function.
Frame design offers another customization opportunity, from simple painted wood to elaborate molding profiles that match existing trim work. The key is balancing aesthetic appeal with acoustic function, ensuring that decorative elements don't compromise the panels' sound-absorbing capabilities. Remember that the primary goal is improved acoustics, with appearance being a secondary but still important consideration.
FAQ
How much do DIY acoustic panels cost compared to commercial options
DIY acoustic panels typically cost 30-50% less than comparable commercial panels, with material costs ranging from $15-30 per square foot depending on materials chosen. Commercial acoustic panels can cost $50-150 per square foot, making DIY construction an attractive option for budget-conscious projects. The primary cost factors include core acoustic material, fabric, wood for framing, and mounting hardware, with labor being your own time investment.
What room size requires acoustic treatment with DIY panels
Any room can benefit from acoustic treatment, but rooms smaller than 150 square feet often see the most dramatic improvement from DIY acoustic panels. Larger rooms may require more panels to achieve noticeable results, but even small amounts of strategic treatment can improve specific acoustic problems like echo or flutter echo. The room's intended use, existing furnishings, and acoustic goals determine the optimal amount of treatment needed.
How do I determine the correct placement for maximum effectiveness
Optimal placement depends on your room's specific acoustic issues, but primary reflection points are always good starting locations. Use the mirror test: sit in your listening position and have someone move a mirror along the walls until you see your speakers reflected, marking these spots for panel placement. Corner placement works well for bass control, while wall-ceiling intersections help with flutter echo problems.
Can DIY acoustic panels be removed or relocated easily
Yes, especially when using removable mounting systems like French cleats, Command strips rated for the panel weight, or simple picture hanging hardware. Permanent mounting methods like screwing directly into studs provide better support for heavy panels but make relocation more difficult. Consider your long-term needs when selecting mounting hardware, balancing security with flexibility for future room changes or relocations.


