Creating custom door panels transforms ordinary entrances into stunning architectural features that reflect your personal style and enhance your home's overall aesthetic appeal. DIY door panels offer homeowners the opportunity to craft unique designs while maintaining complete control over materials, patterns, and finishing techniques. Whether you're renovating an existing space or building new construction, understanding the fundamentals of door panel creation empowers you to achieve professional-quality results at a fraction of commercial costs.
Essential Materials for Door Panel Construction
Wood Selection and Preparation
Selecting appropriate wood materials forms the foundation of successful DIY door panels projects. Hardwoods like oak, maple, and cherry provide exceptional durability and grain patterns that enhance visual appeal, while softwoods such as pine and cedar offer cost-effective alternatives for painted finishes. Proper wood preparation involves careful moisture content assessment, typically maintaining levels between 6-8% to prevent warping and splitting during assembly and installation phases.
Surface preparation requires thorough sanding progression from coarse to fine grits, ensuring smooth finishes that accept stains and protective coatings uniformly. Quality lumber selection eliminates defects like knots, splits, and bow that compromise structural integrity and aesthetic outcomes. Professional woodworkers recommend purchasing 15-20% additional material to accommodate cutting errors and future repairs or modifications.
Hardware and Fastening Components
Professional-grade hardware ensures long-lasting performance and smooth operation of custom door panels throughout their service life. Hinges selection depends on door weight, frequency of use, and desired aesthetic integration with surrounding architectural elements. Ball-bearing hinges provide superior durability for heavy solid wood panels, while decorative options complement traditional and contemporary design schemes effectively.
Fastening components include wood screws, dowels, and specialized joinery hardware that maintains structural connections under thermal expansion and operational stresses. Stainless steel and brass fasteners resist corrosion in exterior applications, while zinc-plated options provide adequate protection for interior installations. Quality adhesives supplement mechanical fasteners, creating permanent bonds that distribute loads evenly across joint interfaces.
Design Planning and Layout Techniques
Measurement and Dimensioning
Accurate measurements form the cornerstone of successful DIY door panels projects, requiring careful attention to existing frame dimensions and clearance requirements. Professional installation standards specify 1/8-inch gaps on hinge and latch sides, with 1/16-inch clearances at top and bottom edges to accommodate seasonal wood movement and proper operation. Digital calipers and precision measuring tools ensure consistency across multiple panels and eliminate costly fitting errors.
Template creation using cardboard or thin plywood allows testing fit and proportions before committing expensive materials to final cuts. Documentation of all dimensions, including reveal depths, panel thicknesses, and hardware mounting locations, prevents confusion during construction phases. Multiple measurement verification using different tools and techniques identifies potential errors before they become costly mistakes.
Pattern Development and Aesthetic Considerations
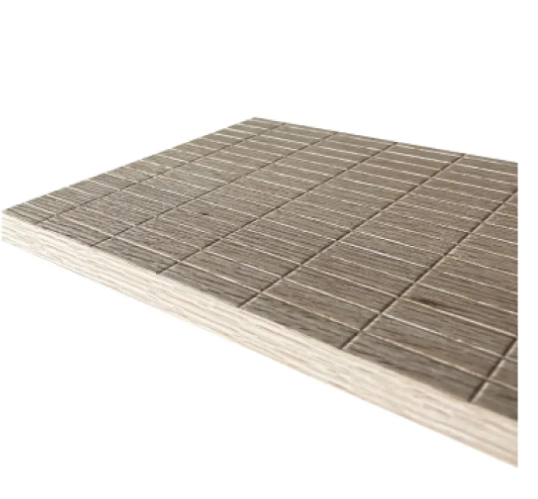
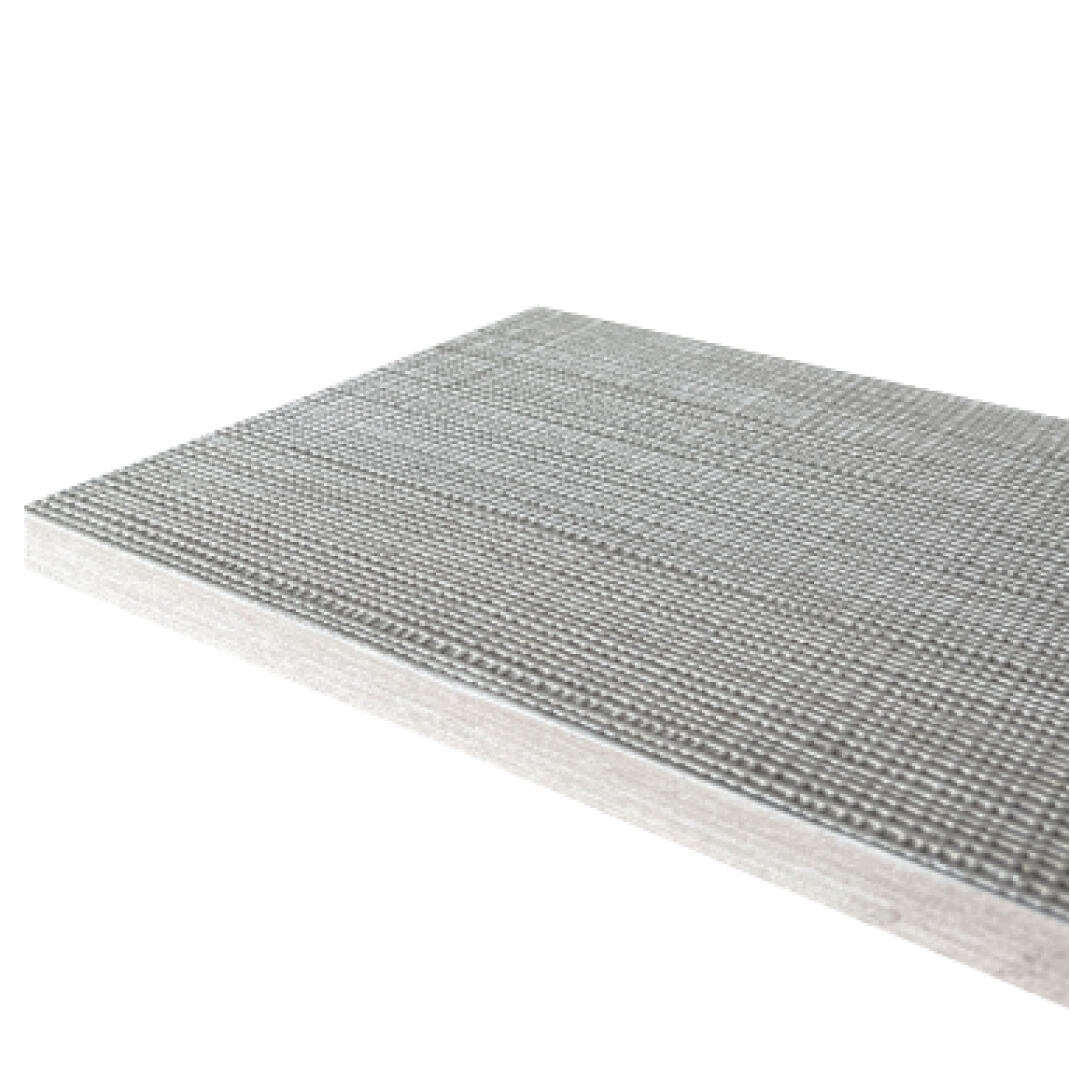
Pattern development integrates architectural styles with personal preferences, creating cohesive designs that complement existing interior and exterior elements. Traditional raised panel configurations provide timeless appeal, while contemporary flat panels offer clean lines suitable for modern architectural contexts. Geometric patterns, decorative inlays, and carved elements add visual interest without compromising structural performance.
Proportion guidelines ensure balanced compositions that appear professionally designed rather than amateur attempts. The golden ratio principle applies to panel sizing within frame configurations, creating naturally pleasing visual relationships. Color coordination with adjacent surfaces, hardware finishes, and architectural details creates seamless integration that enhances overall design coherence and property value.
Construction Methods and Assembly Processes
Traditional Joinery Techniques
Traditional joinery methods create strong, durable connections that withstand decades of use while maintaining their structural integrity and visual appeal. Mortise and tenon joints provide exceptional strength for stile and rail connections, distributing loads effectively across frame components. Proper joint cutting requires precision tools and techniques, including sharp chisels, accurate marking gauges, and consistent cutting angles that ensure tight fits without gaps or excessive force during assembly.
Dado and groove cuts accommodate panel inserts while allowing controlled movement during seasonal humidity changes. Router-based cutting systems provide consistent depths and clean edges, while traditional hand tools offer greater control for fine adjustments and custom profiles. Joint reinforcement using wooden dowels or biscuits adds mechanical strength without visible fasteners that detract from finished appearance.
Modern Assembly Approaches
Contemporary construction methods incorporate advanced adhesives, precision hardware, and efficient assembly techniques that reduce labor time while maintaining quality standards. Pocket screw joinery provides hidden fastening solutions that accommodate quick assembly and future disassembly for maintenance or modifications. Pre-drilling prevents wood splitting while ensuring consistent fastener placement and optimal holding power.
Clamping strategies during glue-up phases ensure even pressure distribution and proper joint closure throughout curing periods. Multiple clamp configurations, including bar clamps, pipe clamps, and specialty angle clamps, accommodate various panel geometries and joint orientations. Assembly sequence planning prevents interference between components and ensures access for final adjustments and quality inspection.
Surface Preparation and Finishing Options
Sanding and Surface Conditioning
Proper surface preparation determines the quality and longevity of applied finishes, requiring systematic progression through increasingly fine abrasive grits. Initial sanding removes mill marks, minor defects, and assembly irregularities using coarse grits between 80-120. Progressive sanding through medium grits (150-180) and fine grits (220-320) creates smooth surfaces that accept stains and topcoats uniformly without visible scratches or swirl marks.
Dust removal between sanding stages prevents contamination that creates finish defects and reduces adhesion quality. Vacuum systems and tack cloths eliminate particles from surface pores and joint interfaces. Grain raising techniques using damp cloths followed by light sanding create consistent absorption characteristics across different wood species and grain orientations within the same panel assembly.
Staining and Protective Coating Application
Stain selection enhances natural wood characteristics while providing desired color coordination with surrounding architectural elements. Oil-based stains penetrate deeply into wood fibers, creating rich colors that highlight grain patterns effectively. Water-based alternatives offer reduced odors and faster drying times, with environmental advantages that appeal to health-conscious homeowners and sustainable building practices.
Protective topcoat applications preserve wood surfaces from moisture damage, ultraviolet degradation, and mechanical wear throughout service life. Polyurethane finishes provide excellent durability for high-traffic applications, while natural oil finishes maintain authentic wood appearance with easier maintenance requirements. Multiple thin coats create superior protection compared to single heavy applications, with light sanding between coats ensuring smooth final surfaces.
Installation and Hardware Integration
Hanging and Alignment Procedures
Professional installation of DIY door panels requires precise alignment and secure mounting that ensures smooth operation and long-term performance. Hinge mortising must match existing frame preparations or create new recesses with consistent depths and clean edges. Router-based mortising techniques provide accuracy and efficiency, while hand chisel work offers greater control for fine adjustments and custom fitting requirements.
Shimming techniques compensate for irregularities in frame construction and ensure proper door alignment within openings. Adjustable hinges accommodate minor variations without extensive frame modifications, while fixed hinges require precise installation for optimal performance. Gap measurements throughout the perimeter confirm proper clearances and identify areas requiring adjustment before final hardware installation.
Lock and Handle Installation
Lock installation requires careful measurement and precise boring to ensure proper operation and security functionality. Standard door preparation dimensions accommodate most residential locksets, while custom applications may require specialized hardware or modified installation procedures. Boring jigs ensure accurate hole placement and consistent results across multiple doors within the same project.
Handle and decorative hardware selection complements panel design while providing ergonomic operation and visual appeal. Mounting plate alignment prevents binding and ensures smooth operation throughout the full range of motion. Quality hardware installation includes proper torque specifications and thread-locking compounds that prevent loosening during regular use cycles.
Troubleshooting Common Issues
Warping and Movement Problems
Wood movement issues commonly affect DIY door panels due to moisture changes and improper material preparation or installation techniques. Warping typically results from unequal moisture exposure on opposite panel faces, creating stress concentrations that distort flat surfaces. Prevention strategies include proper sealing of all surfaces, adequate ventilation around installed panels, and climate control maintenance that minimizes extreme humidity fluctuations.
Correction methods for minor warping include controlled moisture application to concave surfaces and weighted flattening procedures during conditioning periods. Severe warping may require panel removal, reconditioning, and reinstallation with improved environmental controls. Preventive measures during construction include proper lumber acclimation, balanced grain orientation, and adequate panel thickness for structural stability.
Finishing and Aesthetic Defects
Finish defects detract from professional appearance and may indicate underlying preparation or application problems requiring corrective action. Blotchy stain appearance results from inconsistent wood density or inadequate surface preparation, while brush marks and lap marks indicate improper application techniques or unsuitable environmental conditions during finishing processes.
Repair strategies for finish defects include selective sanding and re-application of affected areas, with careful attention to blending techniques that eliminate visible repair boundaries. Quality finish materials and proper application tools prevent most common defects, while environmental control during application ensures optimal curing conditions and final appearance quality.
FAQ
What tools are essential for creating DIY door panels
Essential tools for DIY door panels include a table saw or circular saw for precise cutting, router for edge profiling and joinery, drill for hardware installation, and various hand tools like chisels and measuring devices. A planer helps achieve consistent thickness, while sanders ensure smooth surface preparation. Quality measuring tools including squares and levels are crucial for accuracy and professional results.
How long does it typically take to complete a door panel project
Timeline for DIY door panels varies based on complexity, skill level, and available work time, but most single-panel projects require 2-4 days including material preparation, construction, finishing, and installation. Complex designs with multiple panels or intricate details may extend to 1-2 weeks. Drying time for finishes adds additional days between construction completion and final installation.
What are the most common mistakes beginners make with door panels
Common beginner mistakes include inadequate material preparation leading to movement problems, improper measurements resulting in poor fit, rushed finishing that creates visible defects, and insufficient hardware planning causing operational issues. Skipping template creation often leads to costly errors, while inadequate dust collection during finishing creates contamination problems that affect final appearance quality.
Can DIY door panels match professional quality standards
DIY door panels can achieve professional quality when proper techniques, quality materials, and adequate time are invested in the project. Success requires careful planning, accurate execution, and attention to finishing details that distinguish professional work from amateur attempts. With proper tools and techniques, motivated DIYers often produce results that exceed mass-produced commercial alternatives while creating unique custom designs.
