Understanding the Art of Wood Veneer Applications
Wood veneer represents the perfect blend of luxury aesthetics and material efficiency in modern woodworking. These thin slices of premium wood bring the warmth and elegance of solid timber to various surfaces while offering significant cost advantages. However, working with wood veneer requires precise techniques and careful attention to detail. Many craftsmen and DIY enthusiasts encounter challenges that can compromise their projects' final results. Let's explore the essential aspects of wood veneer application and the critical mistakes that should be avoided to achieve professional-quality results.
Material Selection and Preparation
Choosing the Right Wood Veneer Type
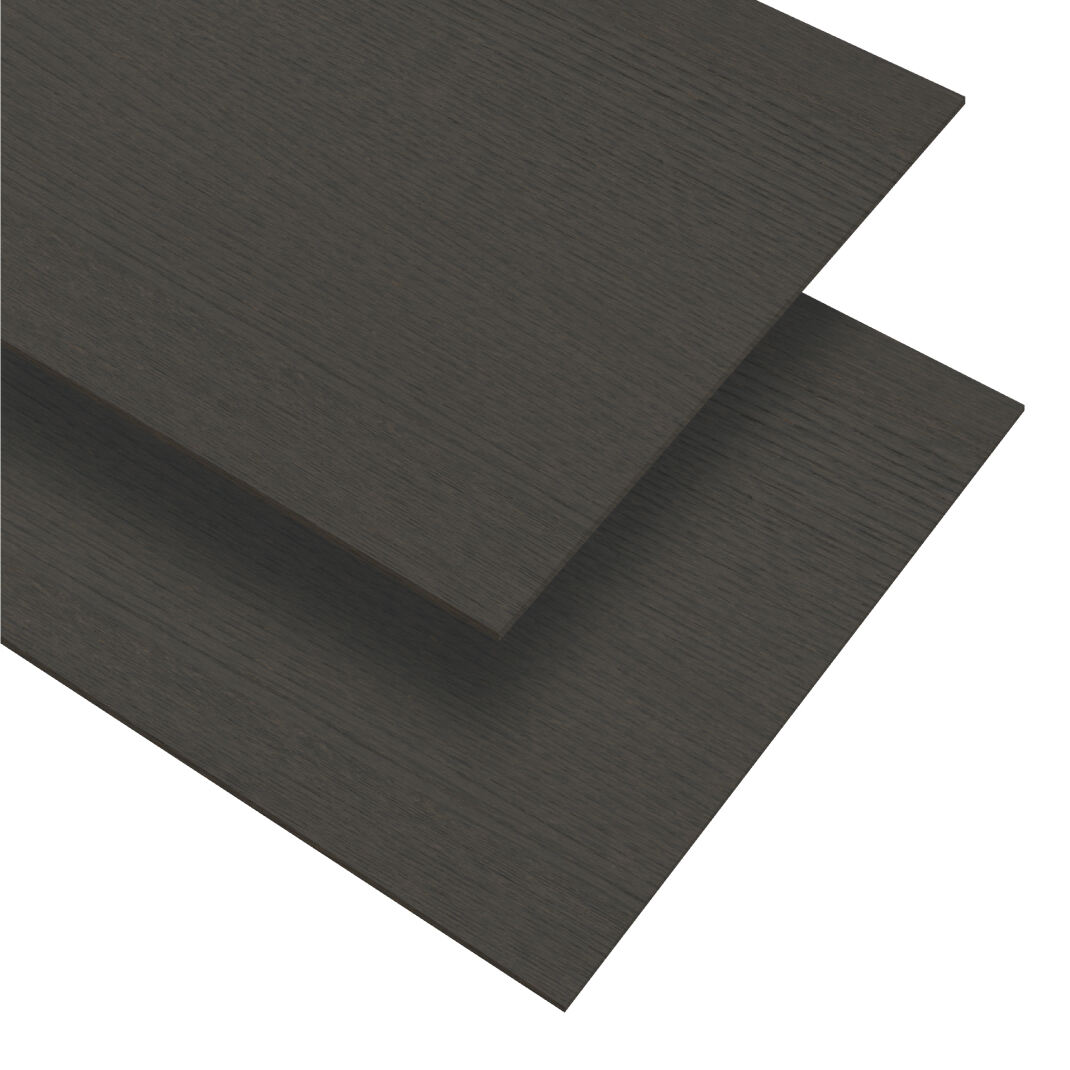
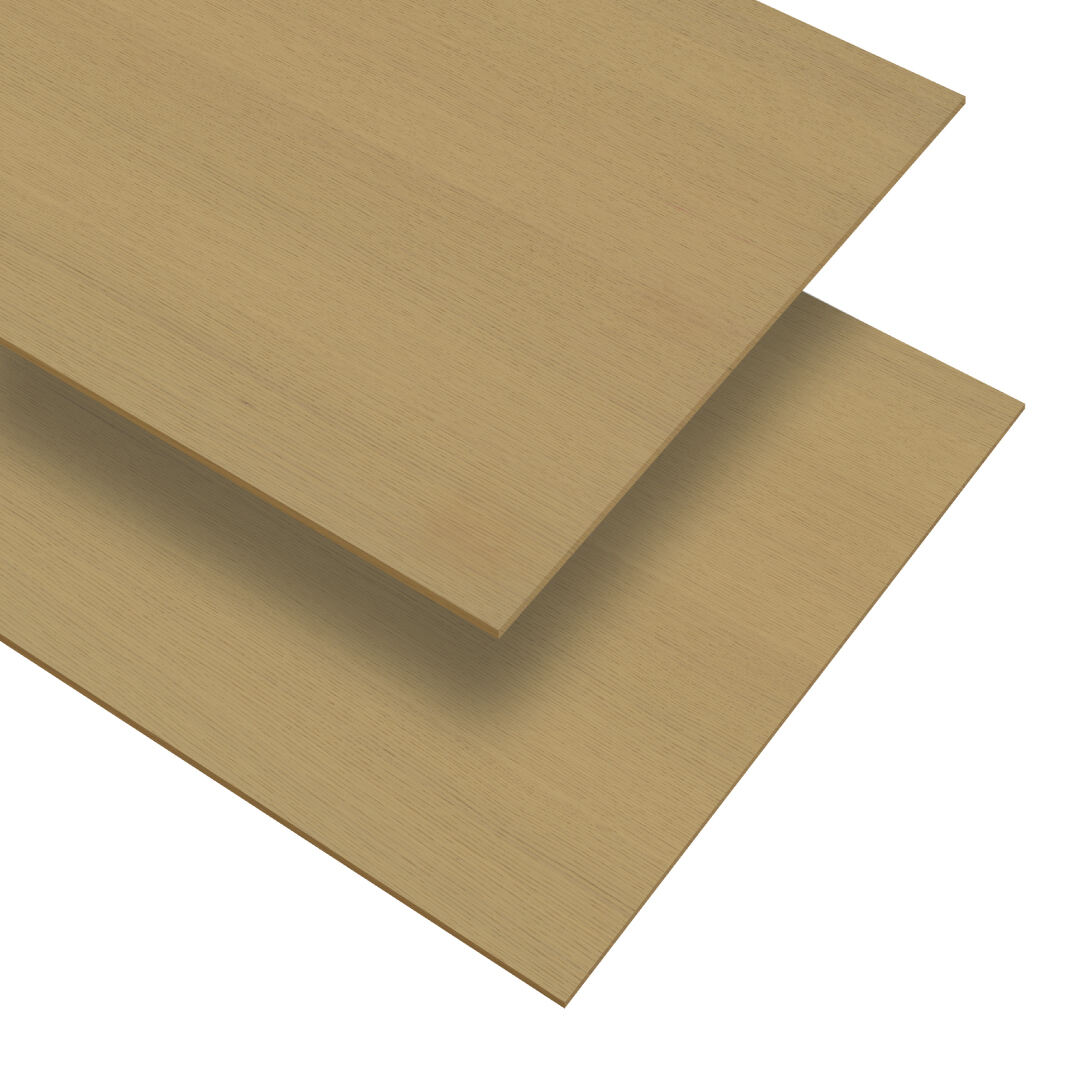
The journey to a successful wood veneer project begins with selecting the appropriate material. Natural wood veneer comes in numerous species, each with unique characteristics, grain patterns, and coloration. Some varieties are more suitable for specific applications than others. For instance, quarter-cut oak provides excellent stability for vertical surfaces, while bird's eye maple creates stunning decorative panels. The thickness of the veneer also plays a crucial role - too thin, and it becomes prone to tearing; too thick, and it may resist proper adhesion.
Consider the application environment when selecting your wood veneer. Areas exposed to moisture or significant temperature fluctuations require more resilient species. Teak and mahogany, for example, demonstrate excellent moisture resistance, making them ideal for spaces like bathrooms or outdoor furniture. Additionally, the substrate material must be compatible with your chosen veneer type to ensure proper bonding and prevent future delamination.
Surface Preparation Requirements
Proper surface preparation is absolutely critical for successful veneer application. The substrate must be clean, dry, and free from any dust, oils, or previous finishes. Many projects fail because practitioners rush through this fundamental step. The surface should be sanded to create a slightly textured profile that promotes better adhesion. However, over-sanding can create an overly smooth surface that might actually hinder proper bonding.
Temperature and humidity control during preparation are equally important. Wood veneer and the substrate should be allowed to acclimate to the installation environment for at least 48 hours. This equilibration prevents future warping or separation caused by material expansion and contraction. Maintaining consistent environmental conditions throughout the entire process ensures optimal results.
Application Techniques and Common Pitfalls
Adhesive Selection and Application Methods
Choosing the right adhesive can make or break a wood veneer project. Contact cement, PVA glue, and epoxy-based adhesives each have their specific applications and requirements. Contact cement offers quick bonding but requires precise application, while PVA provides more working time but needs clamping pressure. Understanding these characteristics helps avoid adhesive failure - one of the most common causes of veneer delamination.
The application technique must match the chosen adhesive type. For contact cement, both surfaces require even coating and proper flash-off time. With PVA, adequate clamping pressure becomes essential. Uneven adhesive application leads to bubbling, while insufficient pressure results in poor bonding. Professional applications often utilize vacuum pressing systems to ensure uniform pressure distribution across the entire surface.
Proper Handling and Positioning
Wood veneer requires careful handling during the application process. The material is delicate and can easily crack or split if mishandled. Proper support during positioning prevents unwanted creases or tears. Some craftsmen use specialized veneer tape to temporarily hold pieces in place and prevent movement during the bonding process. This technique is particularly useful when working with complex patterns or book-matched panels.
Positioning must account for grain direction and pattern matching. Professional installations often create mock-ups to verify pattern alignment before final application. This extra step prevents costly mistakes and ensures aesthetic consistency across the finished surface. The grain direction also affects the veneer's stability - running it perpendicular to the substrate's longest dimension helps minimize the risk of splitting.
Finishing and Maintenance Considerations
Surface Treatment and Sealing
The finishing process dramatically influences both the appearance and longevity of wood veneer installations. Proper sanding techniques prevent damage to the thin veneer layer while preparing the surface for finishing. Starting with coarser grits and progressively moving to finer ones ensures optimal results. Many practitioners make the mistake of beginning with too fine a grit, which can lead to inadequate surface preparation.
Sealing wood veneer protects it from moisture and wear while enhancing its natural beauty. The choice of sealer and finish depends on the application environment and desired appearance. Oil-based finishes penetrate deeper and provide excellent protection, while water-based products offer faster drying times and easier cleanup. Multiple thin coats typically yield better results than fewer thick applications.
Long-term Care and Protection
Maintaining wood veneer requires understanding its sensitivity to environmental conditions. Direct sunlight can cause fading and color changes, while excessive moisture leads to warping or delamination. Proper climate control and protective measures significantly extend the installation's lifespan. Regular cleaning with appropriate products prevents buildup that could damage the finish.
Preventive maintenance includes monitoring for signs of wear or damage. Early intervention can prevent minor issues from becoming major problems. Professional refinishing may be necessary periodically, depending on the application and environment. Understanding these maintenance requirements helps clients protect their investment in wood veneer installations.
Frequently Asked Questions
What is the ideal thickness for wood veneer applications?
The optimal thickness for wood veneer typically ranges from 0.5mm to 0.8mm for most applications. This thickness provides sufficient durability while remaining flexible enough for easy application. However, specific projects may require different thicknesses based on the intended use and substrate material.
How long should wood veneer acclimate before installation?
Wood veneer should acclimate to the installation environment for a minimum of 48 hours, though 72 hours is ideal. This period allows the material to reach moisture equilibrium with its surroundings, reducing the risk of warping or separation after installation.
Can damaged wood veneer be repaired?
Minor damage to wood veneer can often be repaired through careful patching or spot replacement. However, extensive damage may require complete replacement of the affected section. Professional assessment helps determine the most appropriate repair approach based on the damage extent and type.
