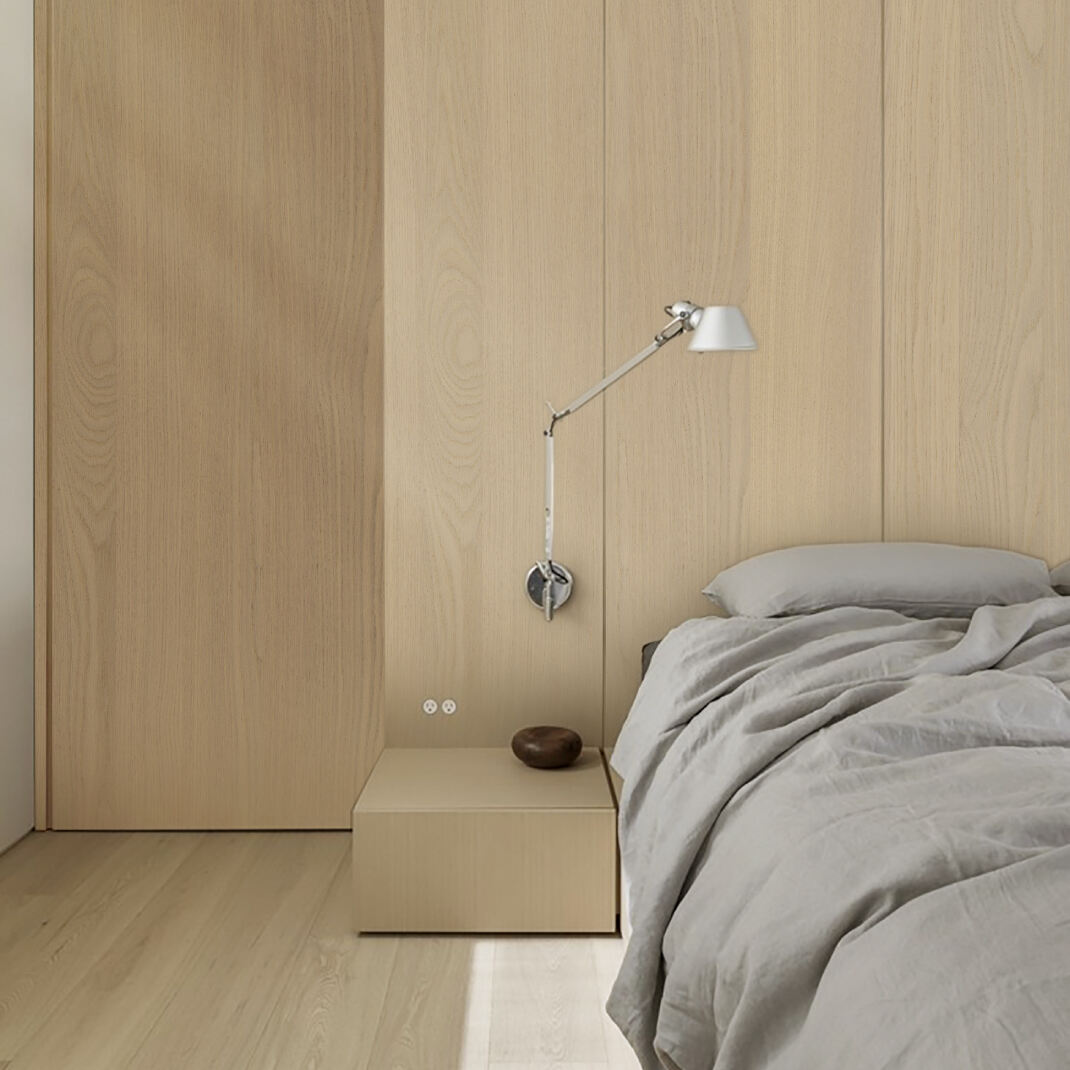
Transform Your Home's Interior with Expert Door Panel Installation
Enhancing your home's appearance often starts with the details, and door panels play a crucial role in both functionality and aesthetics. Whether you're dealing with damaged panels or simply want to update your home's look, replacing a door panel is a rewarding DIY project that can dramatically improve your living space. This comprehensive guide will walk you through the entire process, ensuring you achieve professional-quality results while saving on contractor costs.
Essential Tools and Materials for Door Panel Replacement
Required Tools for Success
Before beginning your door panel replacement project, gathering the right tools is essential. You'll need a screwdriver set (both flathead and Phillips head), a utility knife, a putty knife, a rubber mallet, wood glue, and measuring tape. For safety, don't forget protective gear including work gloves and safety glasses. Having these tools readily available will ensure a smooth workflow and professional results.
Selecting the Perfect Door Panel Material
The choice of material for your new door panel significantly impacts both appearance and durability. Common options include solid wood, medium-density fiberboard (MDF), and hollow-core panels. Solid wood offers classic beauty and longevity but comes at a higher price point. MDF provides excellent stability and paint-ability at a moderate cost. Hollow-core panels are lightweight and budget-friendly, making them ideal for interior applications where sound insulation isn't a primary concern.
Preparation Steps for Panel Replacement
Measuring and Assessment
Accurate measurements are crucial for a successful door panel replacement. Begin by measuring the existing panel's width, height, and thickness. Take measurements from multiple points as doors can sometimes warp slightly over time. Document these measurements carefully and add a small allowance (approximately 1/8 inch) for expansion and contraction. Examine the door frame and surrounding hardware to ensure they're in good condition before proceeding.
Surface Preparation and Old Panel Removal
Proper preparation ensures optimal results. Start by cleaning the door frame thoroughly, removing any dirt, old adhesive, or loose material. If the existing door panel is attached with screws, carefully remove them and set them aside for reuse. For glued panels, use a putty knife to gently separate the panel from the frame, being careful not to damage the surrounding wood. Heat from a hair dryer can help soften stubborn adhesive.
Installation Process in Detail
Panel Fitting and Adjustment
With the new door panel ready, conduct a dry fit to ensure proper alignment. Place the panel in position without adhesive to check for any gaps or misalignments. If necessary, make minor adjustments using sandpaper or a plane. The panel should fit snugly but not so tight that it causes the frame to bow. This test fit is crucial for identifying any potential issues before permanent installation.
Securing the New Panel
Once satisfied with the fit, apply wood glue evenly around the frame where the panel will sit. Place the door panel into position, applying gentle pressure to ensure good contact with the adhesive. If your door design includes decorative molding, reattach it now, using finishing nails or screws as appropriate. Clean any excess glue immediately with a damp cloth to prevent staining.

Finishing Touches and Maintenance
Surface Treatment and Paint
After installation, your door panel may require finishing touches. Sand any rough spots carefully, paying special attention to edges and corners. If painting, use a primer suitable for your panel material, followed by your chosen paint color. Apply thin, even coats, allowing proper drying time between applications. For wooden panels, consider using a sealer or varnish to protect against moisture and wear.
Long-term Care Guidelines
Proper maintenance will extend the life of your new door panel. Regular cleaning with a soft, slightly damp cloth will prevent dirt buildup. Avoid harsh chemicals that might damage the finish. Periodically check the panel for signs of wear or loosening, addressing any issues promptly to prevent more significant problems. In areas with high humidity, consider using a dehumidifier to protect wooden panels from warping.
Professional Tips and Best Practices
Common Mistakes to Avoid
Experience has shown that certain mistakes can compromise the quality of door panel installation. Rushing the preparation phase often leads to poor fits and alignment issues. Using insufficient adhesive or improper fasteners can result in panels that become loose over time. Weather conditions can affect wood and adhesives, so avoid installation during extremely humid or cold conditions. Take your time and follow each step methodically for the best results.
Expert Techniques for Superior Results
Professional installers employ several techniques to achieve superior results. When measuring, they account for seasonal wood movement by leaving appropriate expansion gaps. They often use positioning blocks during installation to maintain perfect alignment. Some experts recommend conditioning wooden panels in the installation environment for 24-48 hours before installation to prevent future warping.
Frequently Asked Questions
How long does a typical door panel replacement take?
A door panel replacement typically takes between 2-4 hours for an experienced DIYer. This timeframe includes preparation, installation, and basic finishing. However, if painting or special finishing is required, you should allow additional time for proper drying between coats.
Can I replace a door panel without removing the entire door?
Yes, in most cases, door panel replacement can be accomplished while the door remains hinged. However, some complex designs or situations might require door removal for optimal results and easier access to all areas of the panel.
What is the average lifespan of a door panel?
With proper installation and maintenance, a quality door panel can last 15-20 years or more. Factors affecting longevity include material quality, usage patterns, environmental conditions, and maintenance practices. Regular care and prompt attention to any issues can significantly extend its lifespan.


