Installing furniture panels yourself can transform your living space while saving significant money on professional installation services. Whether you're upgrading kitchen cabinets, adding decorative wall features, or creating custom storage solutions, understanding the proper techniques for furniture panel installation ensures professional-looking results. This comprehensive guide walks you through every aspect of the installation process, from initial planning and material selection to final finishing touches that will make your project shine.
Essential Tools and Materials for Panel Installation
Power Tools and Hand Tools Required
Success in furniture panel installation begins with having the right tools at your disposal. A circular saw or table saw provides clean, precise cuts essential for professional results. You'll also need a drill with various bits for creating pilot holes and driving screws. A router helps create clean edges and decorative profiles, while a jigsaw handles curved cuts and intricate shapes. Don't overlook the importance of measuring tools like a tape measure, square, and level for ensuring accuracy throughout the project.
Hand tools play an equally important role in achieving quality results. A sharp chisel set allows for fine adjustments and cleanup work around joints and edges. Clamps in various sizes hold panels securely during glue-up and installation. Sandpaper in multiple grits from coarse to fine ensures smooth surfaces ready for finishing. A quality pencil and eraser help mark cutting lines that can be easily adjusted as needed during the installation process.
Selecting Quality Panel Materials
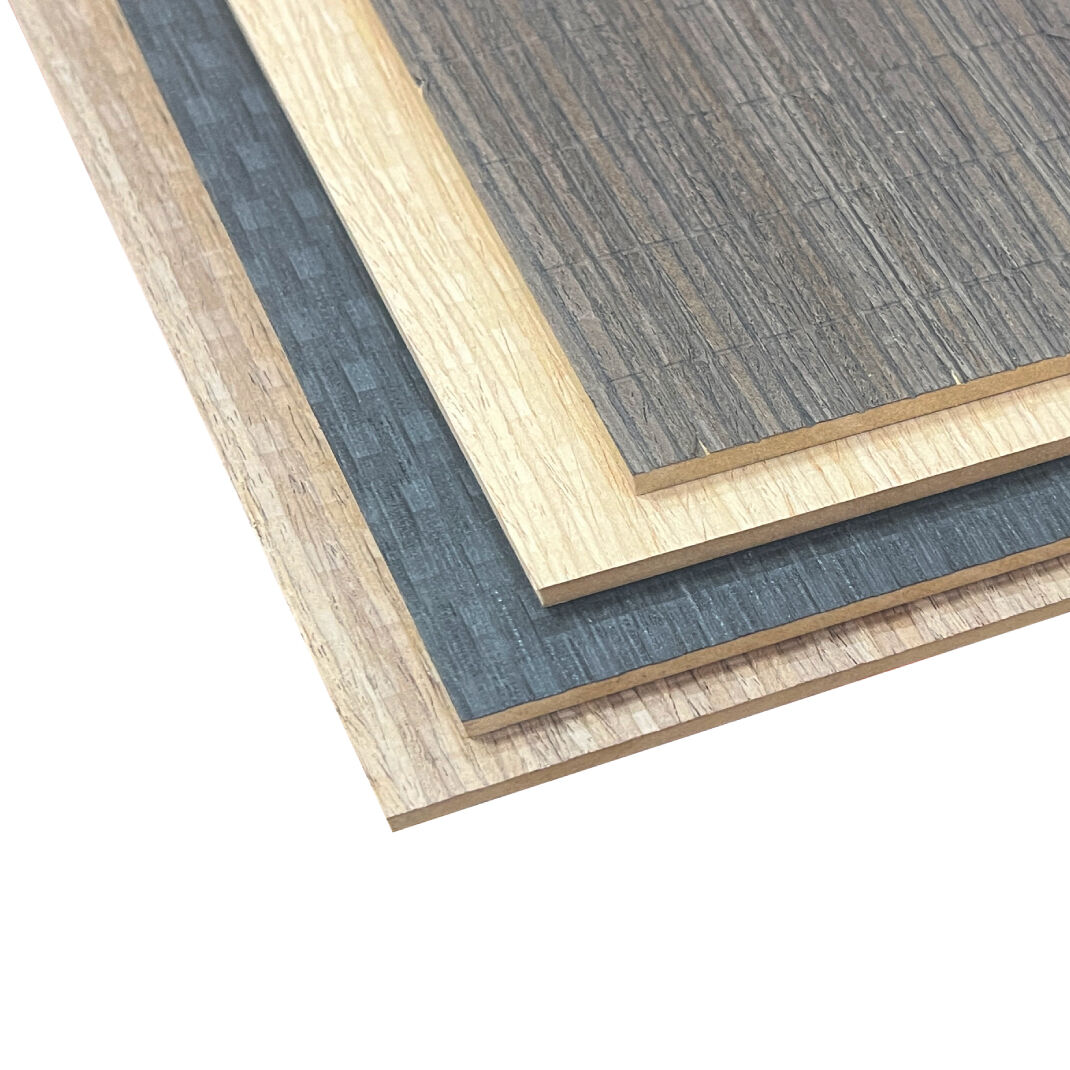
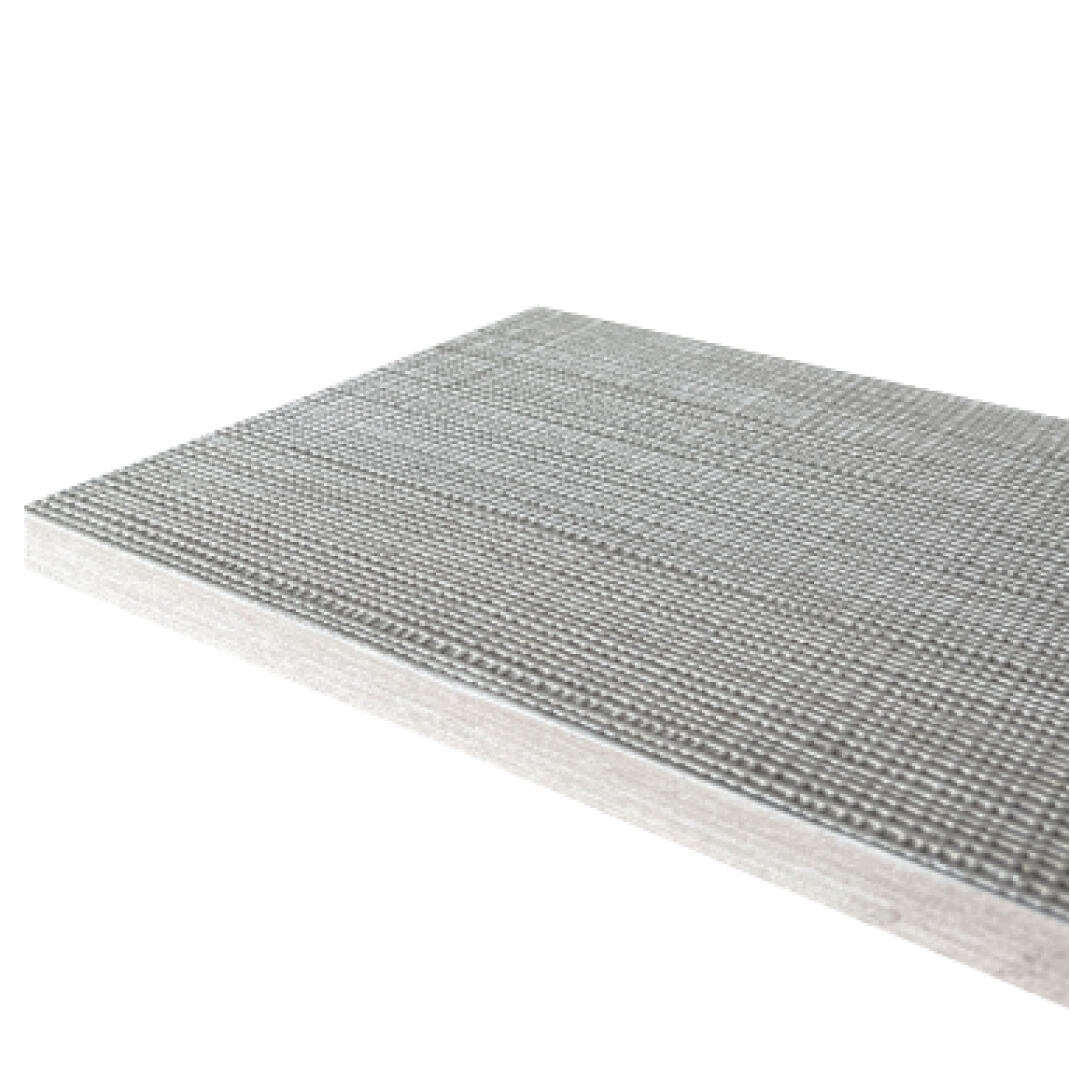
The choice of panel material significantly impacts both the appearance and durability of your finished project. Solid wood panels offer unmatched beauty and longevity but require careful attention to wood movement and grain matching. Medium-density fiberboard provides a stable, smooth surface ideal for painted finishes at a more economical price point. Plywood combines strength with dimensional stability, making it excellent for structural applications where the panel will bear weight or stress.
Veneer panels present an attractive middle ground, offering the appearance of solid wood with improved stability and cost effectiveness. When selecting any panel material, inspect each piece carefully for defects like warping, splitting, or surface irregularities. Quality panels should have consistent thickness, smooth surfaces, and minimal visible defects that could compromise the final appearance of your installation project.
Measuring and Planning Your Installation Project
Accurate Space Assessment Techniques
Proper measurement forms the foundation of successful furniture panel installation. Begin by measuring the installation area multiple times using a reliable tape measure, recording dimensions to the nearest sixteenth of an inch. Check for square by measuring diagonals – they should be equal in rectangular spaces. Use a level to identify any variations in wall or floor surfaces that might affect panel alignment. Document these measurements in a detailed sketch that includes all relevant dimensions and notes about irregularities.
Consider the impact of existing fixtures, outlets, and architectural features on your panel layout. Measure the location of electrical outlets, switches, and plumbing fixtures that may require modifications to your panels. Account for trim work, baseboards, and crown molding that might influence panel positioning. Take photographs of the installation area from multiple angles to reference during the planning phase, especially when working on complex layouts or unusual spaces.
Creating Detailed Installation Drawings
Transform your measurements into detailed installation drawings that serve as roadmaps for the entire project. Start with a scale drawing showing the overall layout, including panel positions, dimensions, and any special features or cutouts required. Include elevation views that show how panels relate to adjacent surfaces and existing architectural elements. These drawings help identify potential issues before cutting begins and provide clear guidance during installation.
Add detailed sections showing critical connections, joint types, and hardware placement. Include a cutting list with exact dimensions for each panel piece, accounting for material thickness and any required adjustments. Note grain direction preferences, especially important when working with wood panels where grain matching affects the final appearance. Your drawings should be detailed enough that someone else could complete the installation following your plans.
Cutting and Preparing Panels for Installation
Precision Cutting Techniques
Achieving clean, accurate cuts requires both proper technique and sharp tools. When using a circular saw, support the panel fully on both sides of the cut to prevent binding or splintering. Mark cutting lines clearly with a sharp pencil and straight edge, then score lightly with a utility knife to minimize tear-out on finished surfaces. Set the saw blade depth to just slightly more than the panel thickness to reduce the risk of binding while maintaining cut quality.
For critical cuts requiring exceptional accuracy, consider using a track saw or cutting guide system. These tools provide superior control and cleaner cuts compared to freehand circular saw work. When cutting multiple pieces to the same dimension, set up stop blocks or use a crosscut sled to ensure consistency. Always wear appropriate safety equipment including eye and ear protection, and work in a well-ventilated area when cutting engineered wood products.
Edge Treatment and Surface Preparation
Properly prepared edges and surfaces are essential for professional-looking results. After cutting, inspect all edges for roughness, tear-out, or irregularities that need attention. Use progressively finer sandpaper grits to smooth cut edges, starting with 120-grit and finishing with 220-grit for most applications. Pay special attention to visible edges that will remain exposed in the finished installation.
Surface preparation varies depending on the panel material and intended finish. Solid wood panels may require filling nail holes or small defects with matching wood filler. Sand all surfaces following the wood grain direction, avoiding cross-grain scratches that show through most finishes. Clean surfaces thoroughly with a tack cloth to remove all dust and debris before proceeding with installation or finishing work.
Installation Methods and Best Practices
Mechanical Fastening Systems
Selecting appropriate fasteners ensures secure, long-lasting panel installations. Wood screws provide excellent holding power and allow for easy disassembly if future modifications become necessary. Choose screw lengths that penetrate at least two-thirds of the substrate thickness for optimal holding strength. Pre-drill pilot holes slightly smaller than the screw diameter to prevent splitting while ensuring tight connections.
For applications where fastener heads must be concealed, consider using pocket screws or specialized hidden fastening systems. Construction adhesive combined with mechanical fasteners creates exceptionally strong bonds suitable for high-stress applications. When installing heavy panels, use multiple fastener types and distribute loads across several attachment points to prevent failure under stress or environmental changes.
Adhesive Applications and Techniques
Modern adhesives offer excellent alternatives to traditional mechanical fastening methods for many furniture panel installations. Contact cement provides immediate bonding strength ideal for vertical installations where clamping is impractical. Apply thin, even coats to both surfaces and allow proper flash-off time before joining. Once contact cement surfaces touch, repositioning becomes impossible, so careful alignment is critical.
Construction adhesives offer more working time and excellent gap-filling properties for irregular surfaces. Apply adhesive in serpentine patterns to ensure complete coverage without excess squeeze-out. Clamp or weight panels for the recommended cure time, typically 24 hours for full strength development. Temperature and humidity affect cure times, so adjust your schedule accordingly when working in extreme conditions.
Finishing Techniques for Professional Results
Surface Preparation for Finish Application
Proper surface preparation determines the quality and durability of any finish applied to your panels. Begin with thorough cleaning to remove all dust, oils, and contamination that could interfere with finish adhesion. Use denatured alcohol or mineral spirits on a clean cloth to remove any residual adhesive or handling marks. Allow surfaces to dry completely before proceeding with finish application.
Sand lightly with fine-grit paper following the wood grain to create uniform surface texture for optimal finish adhesion. Remove all sanding dust with a tack cloth, paying particular attention to corners and crevices where dust tends to accumulate. In humid conditions, consider using a blow gun or compressed air to ensure complete dust removal from textured surfaces or intricate details.
Protective Coatings and Maintenance
Selecting appropriate protective coatings extends the life and beauty of your panel installation. Polyurethane finishes offer excellent durability and moisture resistance suitable for high-traffic areas or environments with varying humidity levels. Apply thin, even coats following manufacturer recommendations for temperature and humidity conditions. Light sanding between coats with fine paper removes brush marks and ensures smooth final surfaces.
For natural wood appearances, consider oil-based finishes that penetrate deeply while allowing the wood to breathe and move naturally. These finishes require more frequent maintenance but offer easier repair when damage occurs. Establish a regular maintenance schedule including cleaning with appropriate products and periodic recoating to maintain protection and appearance over time.
Troubleshooting Common Installation Issues
Dealing with Measurement and Fit Problems
Even careful planning sometimes results in panels that don't fit as expected due to measurement errors or job site irregularities. When panels are slightly oversized, careful trimming with sharp tools can often salvage the piece. Mark new cutting lines precisely and use fine-tooth saw blades to minimize tear-out on finished surfaces. For minor adjustments, hand planes or sanders provide controlled material removal.
Undersized panels present greater challenges but several solutions exist depending on the specific situation. Decorative trim pieces can cover gaps while adding visual interest to the installation. In some cases, replacing the panel may be the most cost-effective solution despite the additional time and material investment. Learn from measurement errors to improve accuracy on future projects and always cut panels slightly oversized when possible to allow for fine-tuning during installation.
Addressing Warping and Movement Issues
Wood panel movement due to humidity changes is a common challenge requiring proactive solutions. Proper acclimation before installation allows panels to adjust to local environmental conditions, reducing post-installation movement. Store panels flat in the installation environment for several days before cutting or installing. Use appropriate expansion gaps at panel edges to accommodate seasonal movement without causing buckling or splitting.
When warping occurs after installation, several correction methods may help depending on the severity and panel type. Light warping sometimes responds to controlled moisture application combined with weighted flattening. Severe warping typically requires panel replacement, making prevention through proper storage and installation techniques critically important for project success.
FAQ
What thickness should I choose for furniture panels in different applications
Panel thickness selection depends on the intended use and structural requirements of your project. For decorative wall panels with minimal load requirements, quarter-inch to half-inch panels provide adequate strength while minimizing weight and cost. Cabinet doors and drawer faces typically use three-quarter-inch panels for proper proportion and durability. Structural applications like shelving or cabinet sides require three-quarter-inch or thicker panels to support expected loads without sagging over time.
How do I prevent splitting when installing panels with screws
Preventing split panels requires proper pilot hole preparation and appropriate fastener selection. Drill pilot holes approximately two-thirds the diameter of the screw shank, adjusting slightly based on wood density and moisture content. Use sharp drill bits and maintain steady pressure to avoid tear-out at hole entry and exit points. Choose screws with appropriate thread patterns for your panel material – coarse threads for softwoods and fine threads for hardwoods or engineered materials.
What tools are absolutely essential for DIY furniture panel installation
Essential tools include a reliable circular saw or miter saw for cutting panels to size, a drill with various bits for creating holes and driving fasteners, and accurate measuring tools including tape measure and square. A level ensures proper panel alignment during installation. Quality clamps hold panels securely during glue-up or while fasteners are installed. Sandpaper in multiple grits smooths surfaces and edges for professional results. While additional tools improve efficiency and quality, these basics handle most installation requirements.
How long should I wait between installation and applying finish coats
Timing between installation and finishing depends on several factors including panel material, environmental conditions, and adhesive cure times. For mechanically fastened panels, finishing can begin immediately after installation completion. When adhesives are used, allow full cure time as specified by manufacturer recommendations, typically 24 to 48 hours under normal conditions. Higher humidity or lower temperatures extend cure times significantly. Test adhesive bond strength in inconspicuous areas before proceeding with finishing to ensure adequate curing has occurred.
